Pre-lecture materials
Read ahead
For future lectures, Iʻll give you some reading or podcasts to prepare
Acknowledgements
Material for this lecture was borrowed and adopted from
Learning objectives
At the end of this lesson you will:
- Know the shell used in your computer`s operating system.
- Know basic shell commands and when you might want to use them.
- Know how to traverse your computer`s filesystem, grab input or put output anywhere.
- Understand the difference between relative and absolute file paths.
- Know how to create and manipulate files through the shell.
Introduction to the shell
This document gives a brief explanation of your computerʻs filesystems and how we will use the command line for this course.
The kernel
The kernel is the part of your computerʻs operating system that loads first once you start up. It is kind of like your computerʻs autonomic nervous system. It recognizes all of the physical hardware attached to it, enables communication between components (and device drivers), and monitors maintenance functions like turning on the fan when it gets hot, manages virtual memory, gives warnings when the hard drive gets full, manages multitasking, and manages security and file permissions. In the mac this is the XNU kernel, in modern Windows machines it is the Windows NT kernel.

The shell
The shell is another key part of the core operating system (note in the diagram above it is part of the System Utilities, and the partner of the kernel). The shell is a software (an app) that allows humans to control the computer. You are already familiar with the GUI interface, or the Graphical User Interface. It is important that you are comfortable using the Command Line Interface as well.
- Data analysis increasingly uses many files. The shell provides a simple but very powerful means to do all kinds of operations on files: move, delete, organize, combine, rename, etc.
- Using the shell encourages you to understand your computerʻs filesystem, and helps you to more precisely control input and output to any place along your file paths.
- Shell operations are fast.
- You can use wildcards to control matching or excluding many files.
- The shell can be used to execute (run) software.
- The shell is probably the oldest app, so it is very stable with lasting power.
- It is part of the OS, so when your apps fail or you are having some issues, you would turn to the shell to kill troublesome processes (programs) or diagnose and fix the issues.
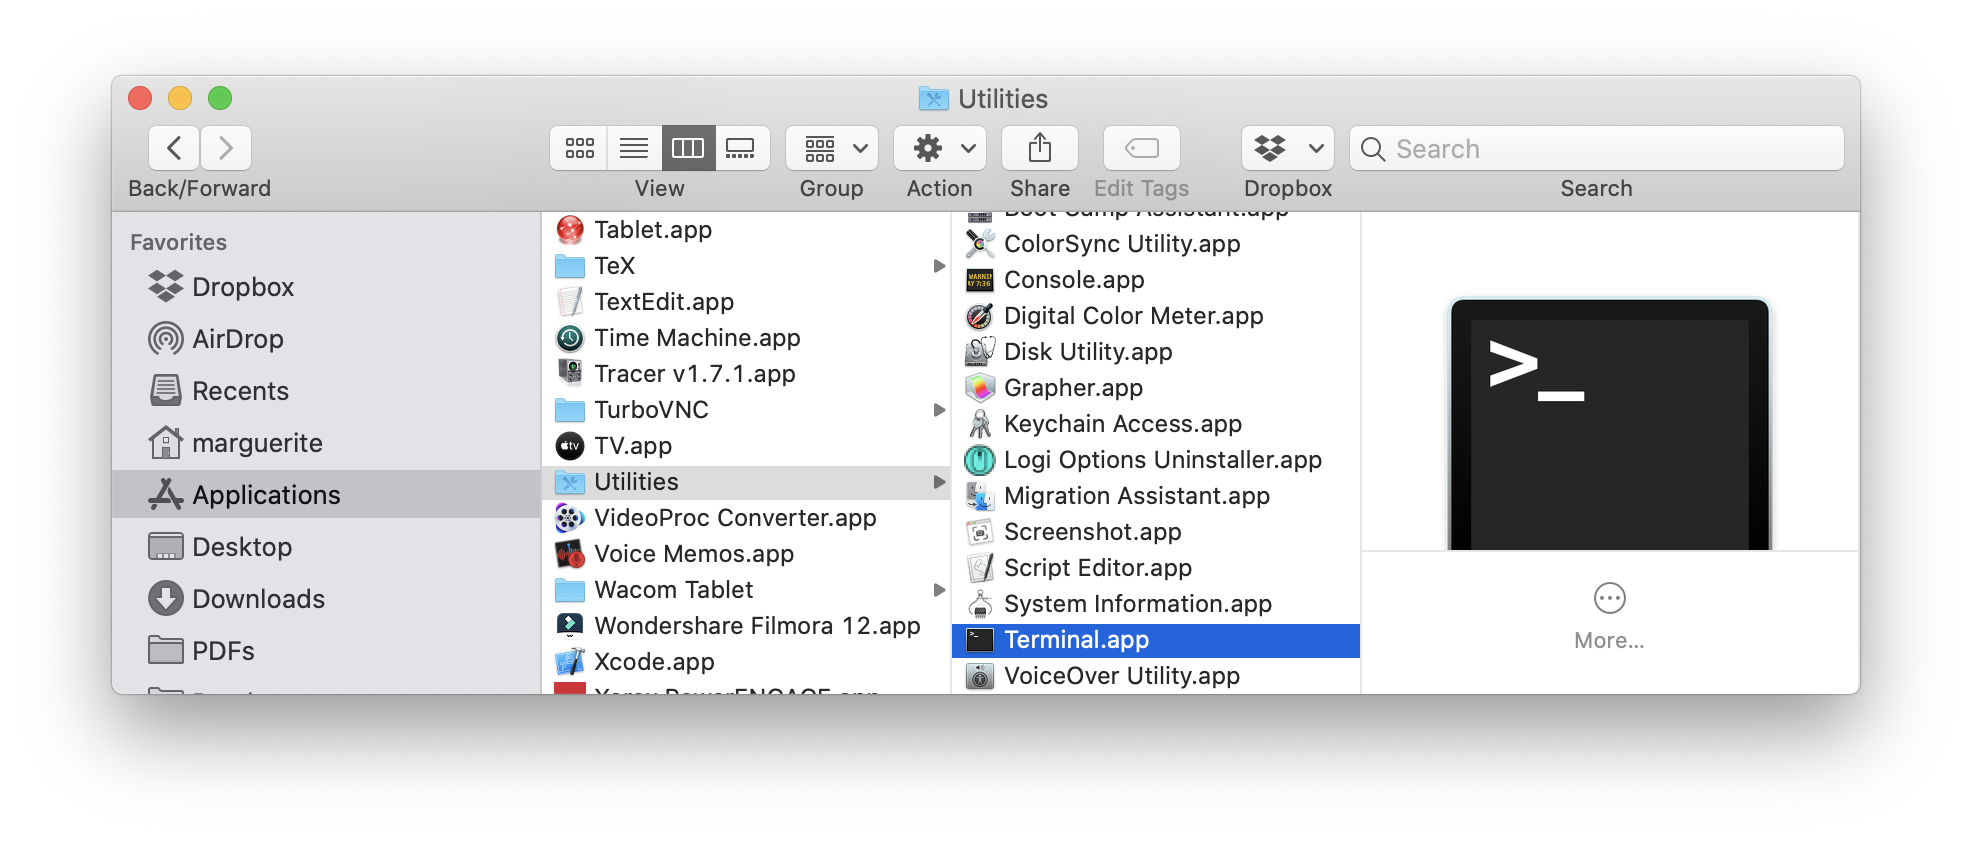
Macs use the same terminal utilities as UNIX/Linux systems. On the Mac, the command line interface app is called Terminal, which you will find in your Application folder, in the Utilities subfolder (here is a screentshot of our GUI Interface).
On a PC you would use the Command Prompt otherwise known as the Windows Command Processor or CMD. If you used a pre-Windows machine, you would be familiar with MS-DOS. To open CMD:
- Open the Start Menu and type “command prompt” or
- Press Win + R and type “cmd” in the run box or
- Press Win + X and select Command Prompt from the menu.
Note: you may see Windows PowerShell or Windows Terminal instead, these are similar apps.
The Working Directory
By default, the working directory on a Mac and UNIX/Linux systems is your home user directory “~”. On a PC the default working directory may looks something like a subdirectory of your C drive “C:[Username]".
This is where you currently are in your computerʻs file structure.
First, lets check where we are by listing the files in our current directory. Note that some shell commands differ between different shells (i.e. UNIX vs. PC). Listing the contents of a directory is done with ls in UNIX and dir in PC:
lsdir- Always check that it worked – at each step!
- You should check the new commands that you are learning against something that you KNOW WORKS.
- Here, since you are familiar with the GUI, as you are doing these new command line operations, keep a GUI window open to verify.
- You should also check on the command line by listing the directory after you add or move files etc.
Please make a folder for your work in a convenient place and call it “Rclass”. On a Mac you may want to put it in “Documents”. Start by navigating into your Documents folder or other such folder where you want your Rclass work to be saved. cd is for change directory, and the syntax is cd Foldername:
cd DocumentsMaking a new folder from the command Line
In both systems, the mkdir command for make directory will create a new folder, and cd will change directories. :
mkdir Rclass
cd Rclass
ls  # or dir in PC
You have now created the Rclass directory, changed directory again into Rclass, and listed files. (It should be empty.)
This seems like a lot of trouble, when you can just point and click in the GUI. But the beauty of the shell is its power. We can automate actions, execute code, and use wildcards to do many at once (coming up below).
Letʻs say you wanted to create files in a new subfolder. touch is a command that creates a new (empty) file, or alters the timestamp of existing files.
mkdir shell
cd shell
touch dat.txt  # PC does not have the touch function
mkdir shell
cd shell
type nul > dat.txt # for PC use type nul with pipe instead of touchCheck that you have a subfolder within Rclass that has one file named dat.txt.
Suppose we wanted to create 10 files. You can so easily in the UNIX shell:
touch dat{1..10}.txt # for PC type nul > dat1.txt multiple timesTo check your files timestamps list files with the -l flag:
ls -lThe -a flag shows hidden files. You can do both at once:
ls -laThe dir command provides the timestamp as well as other information.
dir- Create 20 files with the .jpg file extension.
- List your files now.
- Create 2 subdirectories, one called “Data” and one called “Images”
More useful commands move copy remove and friends
Some additional very useful commands are those for moving, copying, and removing (deleting) files. These can operate on your current directory, or you can add the path to your file. For example, to move your file into the Data subdirectory:
mv dat1.txt Data/dat1.txt
ls
ls Data
Anywhere where you can indicate a filename, you can also add a path to that file.
| function | UNIX | Windows CMD | example |
|---|---|---|---|
| move | mv filename newlocation | move filename newlocation | mv dat1.txt Data |
| copy | cp filename newfilename | copy filename newfilename | cp dat1.txt catcat.txt |
| remove | rm filename | del filename | rm dat1.txt |
| remove directory | rmdir Directory | rmdir Directory | rmdir Data |
| concatenate (combine) | cat file1 file2 | cat file1 file2 | cat dat1.txt dat2.txt |
| concatenate to new file | cat file1 file2 > file3 | cat file1 file2 > file3 | cat dat1.txt dat2.txt > alldat.txt |
| list files | ls | dir | |
| get working directory | pwd | cd |
Note: UNIX commands are case-sensitive, Windows commands are not. Apologies in advance for any Windows command errors - Iʻm really not an expert. Please let me know so I can fix it. Thank you!
Wildcards
You can also select multiple files at once using wildcards. If you want to grab all of the .txt files, for example, you can do:
cp *.txt Data
ls  # PC: use dir
ls Data # PC: use dir Data
And you should have copied all files that end in .txt into Data. You could alternatively used dat* which will select all files that begin with “dat” but can end in anything else. The * will match any characters (zero or more).
There are a lot of other wildcards that you can use.
- Move all of your data files into Data, and all of your image files into Images.
- Remove any straggler files from the top level of shell, if you used the copy command.
- List files from shell, Data, and Images.
Relative paths vs. Absolute paths
In the Mac, there are two important shortcuts:
- “/” : The root directory of your entire computer, indicated by “/”.
- “~” : The root of your user directory, which for me is “marguerite”. From the root directory, it will be “/Users/username”
In PCs, your root user directory in CMD is usually something like:
- “C:\User\username" : this would be the root of your user Directory
- The root of the C drive is “C:"
On PCs pay attention to the direction of the slashes when you type dir is it “/” or “\” ? When you type your filepaths, be sure to use the right type of slash.
Check out what is in these directories:
ls /
ls ~
Shortcuts in Windows are called Windows Environment Path Variables:
dir %UserProfile%  # is this C:\\Users\\{username} ?
dir %SystemDrive%   # is this C: ?
With the advent of the OneDrive, there is now a parallel user directory in OneDrive that also has Documents, etc.
Donʻt get confused! “C:" drive is not the”OneDrive”. (the OneDrive is a location on your hard drive, sometimes on C:, sometimes on D:) Windows makes use of a lot of symbolic links to make it easier for the user. These are different directories, sometims on different drives or partitions, but to the user it looks like theyʻre in the same folder). Symbolic links can be generally used in filepaths, but it can be very confusing if you accidentally end up with a circular reference or when you need to find the actual location on the hard drive.
Use the “\ad” flag with dir to see all of the symbolic links too. They call these symbolic links namespace junctions.
dir %UserProfile% \\adYou can use these as shortcuts as starting points for your path to basically write an absolute path. This becomes important when you write a script that may be moved to different locations or shared with different people on different computers.
For example, “cd ~/Documents” will take you to the Documents folder inside your user directory, regardless of where you are currently because it is an absolute path.
A relative path will traverse the file directory relative to where you are currently. For example “Documents” will start at current working directory and look for a subfolder called Documents:
ls Documents # relative path, is there a Documents folder here?In contrast, an absolute path will start from the very beginning of your root directory and contain the complete path.
ls ~\Documents # this is an absolute path because ~ = "\Users\marguerite"On the Mac, an asbolute path will start with “" (or a shortcut that contains a starting”"), whereas on a PC an absolute path will start with “C:”
Executing software from the command Line
coming soon
Piping commands
You can redirect output using > and < with the point indicating the direction. Here is an example. First letʻs put some contents into the files, and check the contents with the command “less” (there is also “more”):
echo "A" > dat1.txt
less dat1.txt
> pipes (or sends) output to the file named “dat1.txt”. If the file doesnʻt exist, it will create it. If it already exists, it will replace the file.
If you want to add on to the file, use “>>”
echo "Another letter B" >> dat1.txt
less dat1.txt
Output to multiple files:
echo "c" >dat2.txt >dat3.txt
less dat2.txt
less dat3.txt
Concatenate (combine) multiple files using cat and send it to file
cat dat1.txt dat2.txt dat3.txt
cat dat1.txt dat2.txt dat3.txt >all.txt
less all.txt
Post-lecture materials
Final Questions
Here are some post-lecture questions to help you think about the material discussed.
What is a command line interface?
How can using the command line help with file organization or reorganization?
What is the importance of choosing a good file naming system?
What is the difference between a relative path and an absolute path?
Practice making directories with subdirectories A, B, etc. with several levels A1 A2 etc.
Practice moving files between different directories and at different levels.
Practice moving junk lying around in your downloads folder into the trash using the command line (or at least putting them into a common folder “opala” folder which you can then manually put into the trash). (FYI on the Mac Trash is in “~/.Trash” so it is a hidden folder)
Additional Resources
rtistry

[‘Flametree’ from Danielle Navarro https://art.djnavarro.net]